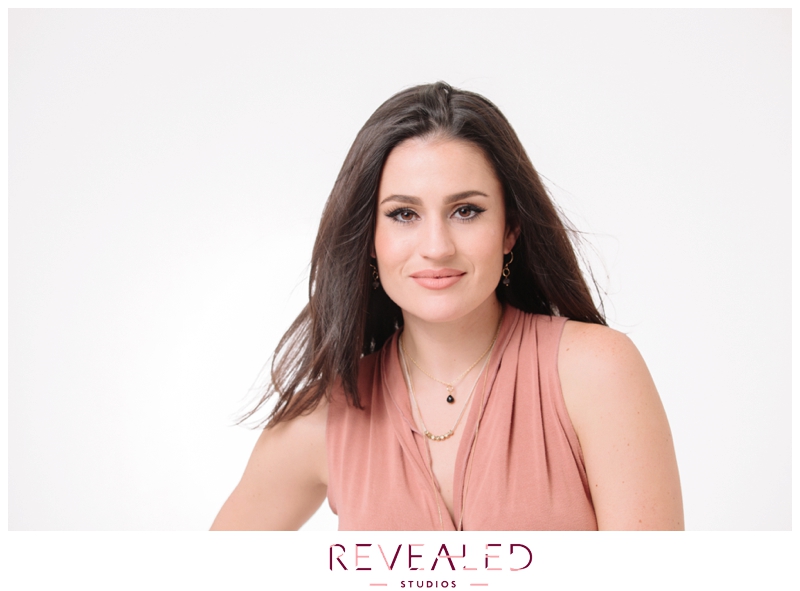
In our early days as a studio, the stunning lady below, Emily Wolf, was one of our favorite models to work with, helping us to build our initial portfolio. We had such a ball the first time we worked with her (she has the most contagious sense of humor) that we invited her back for a second shoot. Then, upon learning about her exciting career move to makeup artistry, we immediately called her back for a third, only this time to transform a client.
She’s an amazing wealth of knowledge, not only in the world of makeup, but also in the field of photo and film production. With a background in acting, she knows how to work both sides of the camera (she recently appeared on Chicago PD). She loves making clients feel like the most beautiful version of themselves. Other interests include fashion, travel, music, food, and exercise, oh, and an obsession with Sons of Anarchy- Jax Teller. MEOW!
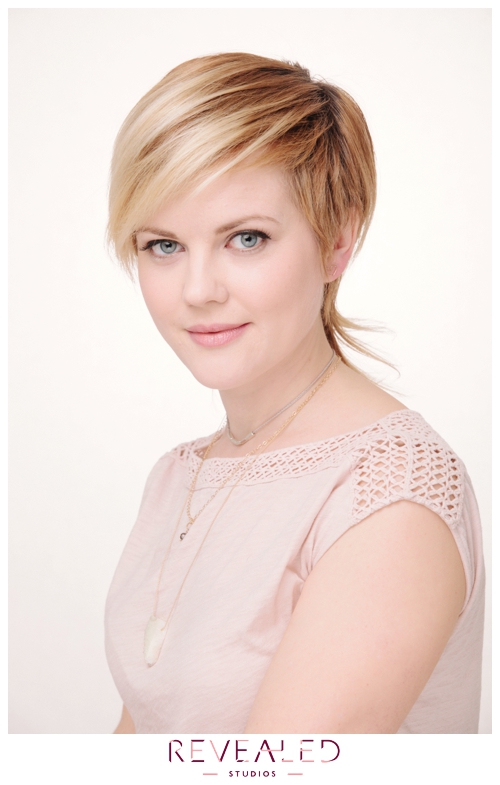
Introducing the Certified Makeup Artist Jaycie Kurfess
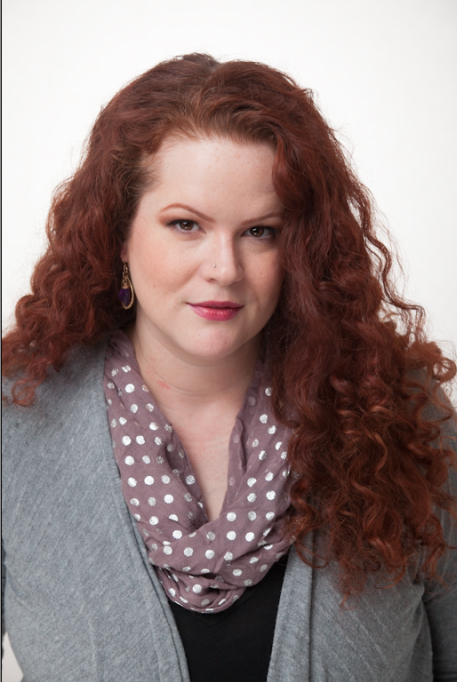
This lovely lady below is makeup artist Jaycie Kurfess. She’s one of the hardest workers around filling every weekend in the summer with double and triple-header weddings. When the stars align, we’re able to commission her skillful eye.
Her love of makeup dates all the way back to childhood when she first fell in love with painting. Experienced in bridal, corporate, and editorial makeup, she’s a multifaceted gem, not to mention an absolute sweetheart.
When Jaycie is not working, her favorite thing to do is spend quality time with her husband and close friends. She is guilty of starting awkward conversations with strangers, watching marathons of SVU, eating the last cookie in a box and taking an excessive amount selfies with her dog, Roy.
We feel lucky beyond measure to have the most amazing team of creatives at our studio. Over the last four years, we’ve adopted into the Revealed family a group of ladies who are as fun to work with as they are talented.
The first to start with us was Heather Brzek, momma of two with a third on her way. She takes a light touch to makeup that accents natural beauty, but knows how to amp it up when the time is right. She does an incredible cat-eye liner and gives the best hugs. Thank you Heather for all your amazing work!!
We receive a lot of questions regarding how we retouch our clients’ images. As mentioned before, we can erase cellulite and fix tan lines. Double chins and bellies can be diminished. However, our retouching mantra is to get it right in camera with good hair, makeup, lighting and posing. Clients are often surprised how good they look in camera before any retouching even occurs.
So what does a photo look like straight out of the camera?
Here’s me.
Now here I am color-corrected. In other words, my hair and skin matches what you see in real life.
Next, I erase any funky textural issues, my red splotches and neck wrinkles. (I left my smile lines in because I’m fine with those.)
Voila, much better.
Those bags under my eyes due to restless nights taking care of my newborn babies?
Gone.
And what about my clothing wrinkles?
Poof. They’re outta here. Well, sorta…I could do some more work on them, but you get the point. 🙂
So that is my quick retouching edit to show you the work that goes into our clients’ photos before they see them. Hair flyaways are also erased, but my hair wasn’t too unruly in this pic. Good retouching is subtle, in our opinion. We stay away from turning skin into plastic.
Lastly, we add a little extra spice to the photo, which bumps up contrast and color.
Here’s a before and after of the photo. The left is straight out of camera and the right is after retouching.
Want to book a session, but have retouching questions? Email us at info@revealed-studios.com or call us (773) 273-9063. We’d love to hear from you.
Make-up Artist Emily Wolf gives the 101 on False Eyelashes
We are so excited to have one of our favorite ladies, a very talented Chicago Makeup Artist, Emily Wolf, guest blog for us today. Take in her tips on how to use false eyelashes. Stop being intimidated by lashes and start having fun!
LOVE-ME-SOME-LASHES!
When it comes to makeup, there is one rule that I always live by… you can NEVER have too much lash. Lashes are one area of makeup where I am all about the glam, but some people may want a more subtle enhancement. Because lashes have become such a huge trend, most lash brands offer a variety of styles that can match ANY look you are going for. From super natural, to double-stacked, there is a lash look that will fit your style.
Here are a few of my FAVORITE lash options:
1. Ardell Wispies: These lashes shave a very full, soft look to them. They gave me that overall glam look that I like, but the soft texture allows them to blend well with my natural lashes.
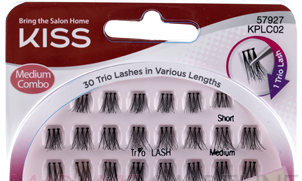
2. KISS Trio Lashes: I am obsessed with the new KISS trio lashes because they have the subtle effect of individual lashes, but can be applied 3 times faster. You can also easily add these on top of a lash strip for a little more lash glam!
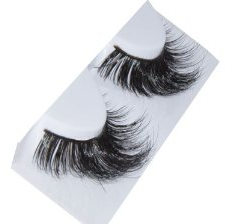
3. MINK Lash Strips: there is a new craze in MINK lashes because they are soooooo soft and fluffy, that they look super natural and can be worn several times. Mink lash bands are a lot more expensive so make sure to wear them on your most special occasions. Also make sure to purchase a brand that is CRUELTY FREE!!!!
KEEPING IT ALL TOGETHER:
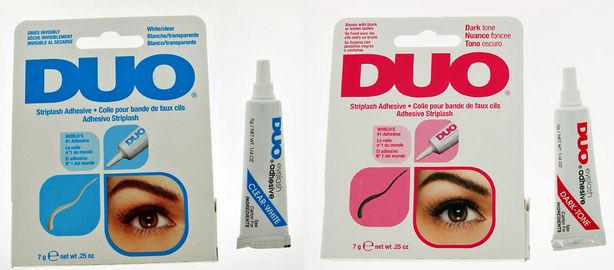
When it comes to applying the lashes, I am a HUGE fan of DUO lash glue. They offer glue in clear, dark toned, or glue for individual lashes. I have used this lash glue for a very long time now, and it never fails me!
THIS IS TOUGHER THAN IT LOOKS!
1.) DO NOT OVER-DO THE GLUE!!!!! You need a very small amount of glue to line the lash band. Most lash bands already have adhesive on them so you do not need to apply a ton of glue to get the job done. Add a light layer of glue along the entire lash strip.
1.) IT’S GOOD TO BE TACKY: Let the lash glue get tacky before applying it to your lash line. If you apply the lash immediately after you add the glue, the lash will slide around your eye, spreading the glue all over the place. If you let the glue sit for a bit, and get sticky, it will hold to the lash line as soon as you apply it.
3.) KEEP YOUR PEEPERS OPEN: It may seem weird the first few times, but try to apply the lashes with your eyes slightly open. This will allow you to get a lot closer to your lash line for a more natural effect.
Now you have all the tools and tips you need to load on the lash. Hope you guys enjoy loading on the lashes as much as I do! Xoxo
Today on our blog, we have special guests, one of our fabulous makeup artist’s Emily Wolf. Not only does Emily have amazing makeup expertise, she also have first hand experience as a former model for Revealed Studios. She knows what it’s like to be behind the camera, and for that reason, truly appreciates creating a comfortable experience for our clients, through gorgeous work AND an inviting demeanor.
Today Emily shares her top tips on how to keep your makeup looking fresh all day and into the night!
Here are a few of our favorite looks by Emily…
——————————————————————
Many of my clients want to know how I get STAYING power with makeup. It’s really all about the BEFORE & AFTER. What products you use before and after you apply your favorite foundations, shadows, and lipsticks often has a MAJOR impact on longevity! Here are a few of my favorite products that I use for a makeup look that will last day to night.
THE BEFORE
1. MOISTURIZER! The more moisture your skin absorbs, the better condition it will be in for a proper makeup application
Embryolisse Lait-Creme Concentre: This moisturizers feels like silk on your skin and provides and AMAZING amount of moisture.
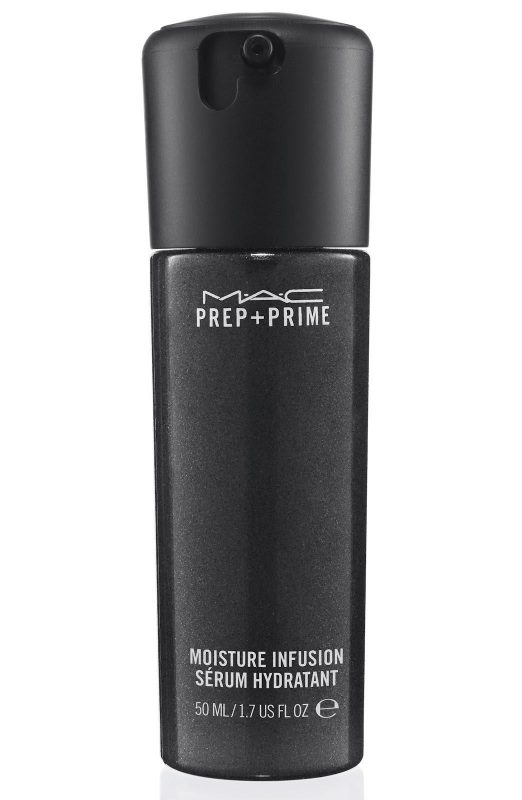
MAC Prep + Prime Moisture Infusion Serum: This products saturates the skin with an extra BOOST of hydration
2. PRIMER
I cannot stress how important it is to prime before you makeup. You can find primers for almost every area of the face. Primer are used to help your makeup stay put, disguise any skin discoloration, add highlight/ brighten the skin, or mattify oily skin. Some of my favs are:
MAC Paint Pot : This product comes in several shades. It is great for creating an even skin tone on the eye, and preventing creasing.
Cinema Secrets Ultimate Foundation Primer: This product feels like velvet on your skin. It helps to eliminate fine lines and wrinkles on the face.
THE AFTER
1. SETTING POWDERS & SPRAYS
After you have applied your makeup, it is CRUCIAL that you set it with a powder or spray to lock it into place. A lot of my clients want to learn how they can prevent their makeup from creasing, coming off, or reducing shine. Using a setting powder or spray will prevent these issues from happening.
Dermablend Setting Powder: The product can be used anywhere on the face to set your makeup. It is excellent for removing shine and locking in your foundation.
MAC FIX + : This product is great for calming the skin, adding radiance, and finishing the look.
Bad breakout before your photo shoot? Don’t worry, our makeup artists know just how to cover it up!
Jaycie Kurfess guests blogs today, sharing her insight on the best way to hide pimples, dark circles beneath the eyes, and even scars!
“Concealing your unwanted blemishes and dark circles can be a slippery slope if your don’t know what you’re doing. I mean, lets face it, it can be difficult even if you do know what you’re doing!
Before you just start loading on any old concealer, really evaluate the problem. Are you concealing dark under eye circles? If so, are they red from lack of sleep are they more of a blueish hue? Are you working with with a blemish that is more pink or are you dealing with an older blemish that may have left a scar, which can appear more brownish grey?
First things first, the area your are covering needs to be moisturized. If you are loading on concealer to dry skin, it will just to stand out more. It is going appear caking and cracked looking. (Sometimes we can’t do anything about it, but just try to always moisturize and exfoliate about once a week.)
Second, figure out what color is casting from the area that needs coverage. If it is a pinkish red, then you want to use a concealer that has a yellow/green-tone. If it is a blueish/purple then you want to use a golden or salmon concealer. If you have sunspot or scaring, you want to try to warm them up with a reddish orange concealer. Your average pink concealer with only bring out the grey.
Remember, you want to cancel out the unwanted color by using its complementary color. Adding more of the same color with not hide anything!”
Thanks Jaycie! And ladies, don’t worry, even if you’re blemish isn’t completed concealed, we’ll take care of the rest with the magic of photoshop.
Makeup Artist Jaycie Kurfess of Makeup by Jaycie shares her top five hair and makeup must dos.
Today we’re featuring a guest post from one of our very own makeup artists at Revealed Studios, Jaycie Kurfess. We’ve been working with Jaycie for the last four years. Her personality is as lovely as her makeup skills. We’re so lucky to have her in our Revealed family!
Jaycie’s come up with a few simple tips that will enhance every woman’s beauty routine. Thanks Jaycie! We can’t wait for your next guest post.
Top 5 (easy) hair and makeup must do’s
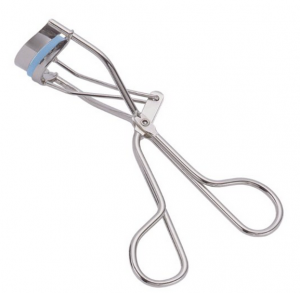
1. Curl your lashes. Eye lashes can change our eye shapes drastically. We really should take advantage of them more. By simply curling up our eye lashes, we are elongating them, which opens up our eyes immediately. I know lash curlers can be intimidating, just start at the base and work your way up. Practice makes perfect!
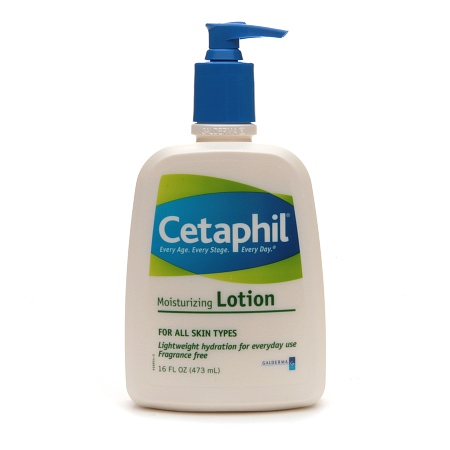
2. MOISTURIZE! I can’t tell you how many women (and men) sit in my chair and tell me they don’t moisturize. Our skin is our largest organ, so it needs to be hydrated. Not only does hydrated skin postpone the inevitable wrinkles, but it also allows our makeup to blend into our skin better. (Cetaphil is a great everyday moisturizer.)
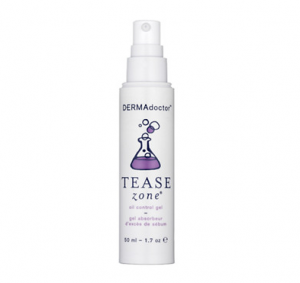
So you have oily skin? Use a blocking product like Dermadoctor’s Tease zone on your oily prone areas first, then work some oil free moisturizer over the entire face.
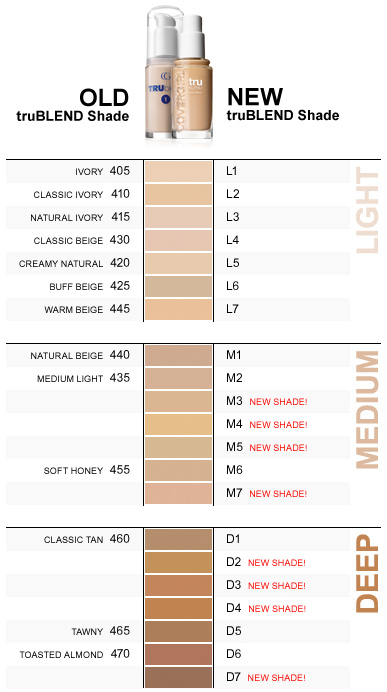
3. Color Match. No one likes to have that line of makeup right under their chin. Make sure to test your foundation against your neck. Using a darker foundation will not make you look tanner; it will just cause you to have a harder time blending everything. Your peers will notice. Instead, on days you’re feeling a little pale, just lightly brush on some bronzer; forehead, cheeks, nose and chin. This will give your skin a warmer look in all the right areas.
(image source Covergirl)
4. Brush your hair before you shower. Sounds tedious, so you ask, “why not just comb through my hair with conditioner?” Well, your hair is actually stronger when it is dry, so detangling it before it gets wet will help you in the long run. Sometimes when we comb through our hair in the shower, it actually gets damaged because it’s weaker and breaks off more easily.
5. Treat yourself. Yep, that’s right! We don’t always make enough time to do the little things that make us feel better. We are too worried about making sure those around us are taken care of first. Block out 30 minutes to go get a manicure, read a book, get a spray tan, get your eye brows waxed, or whatever it is that makes you feel good. Sometimes, just feeling good helps you look your best.


